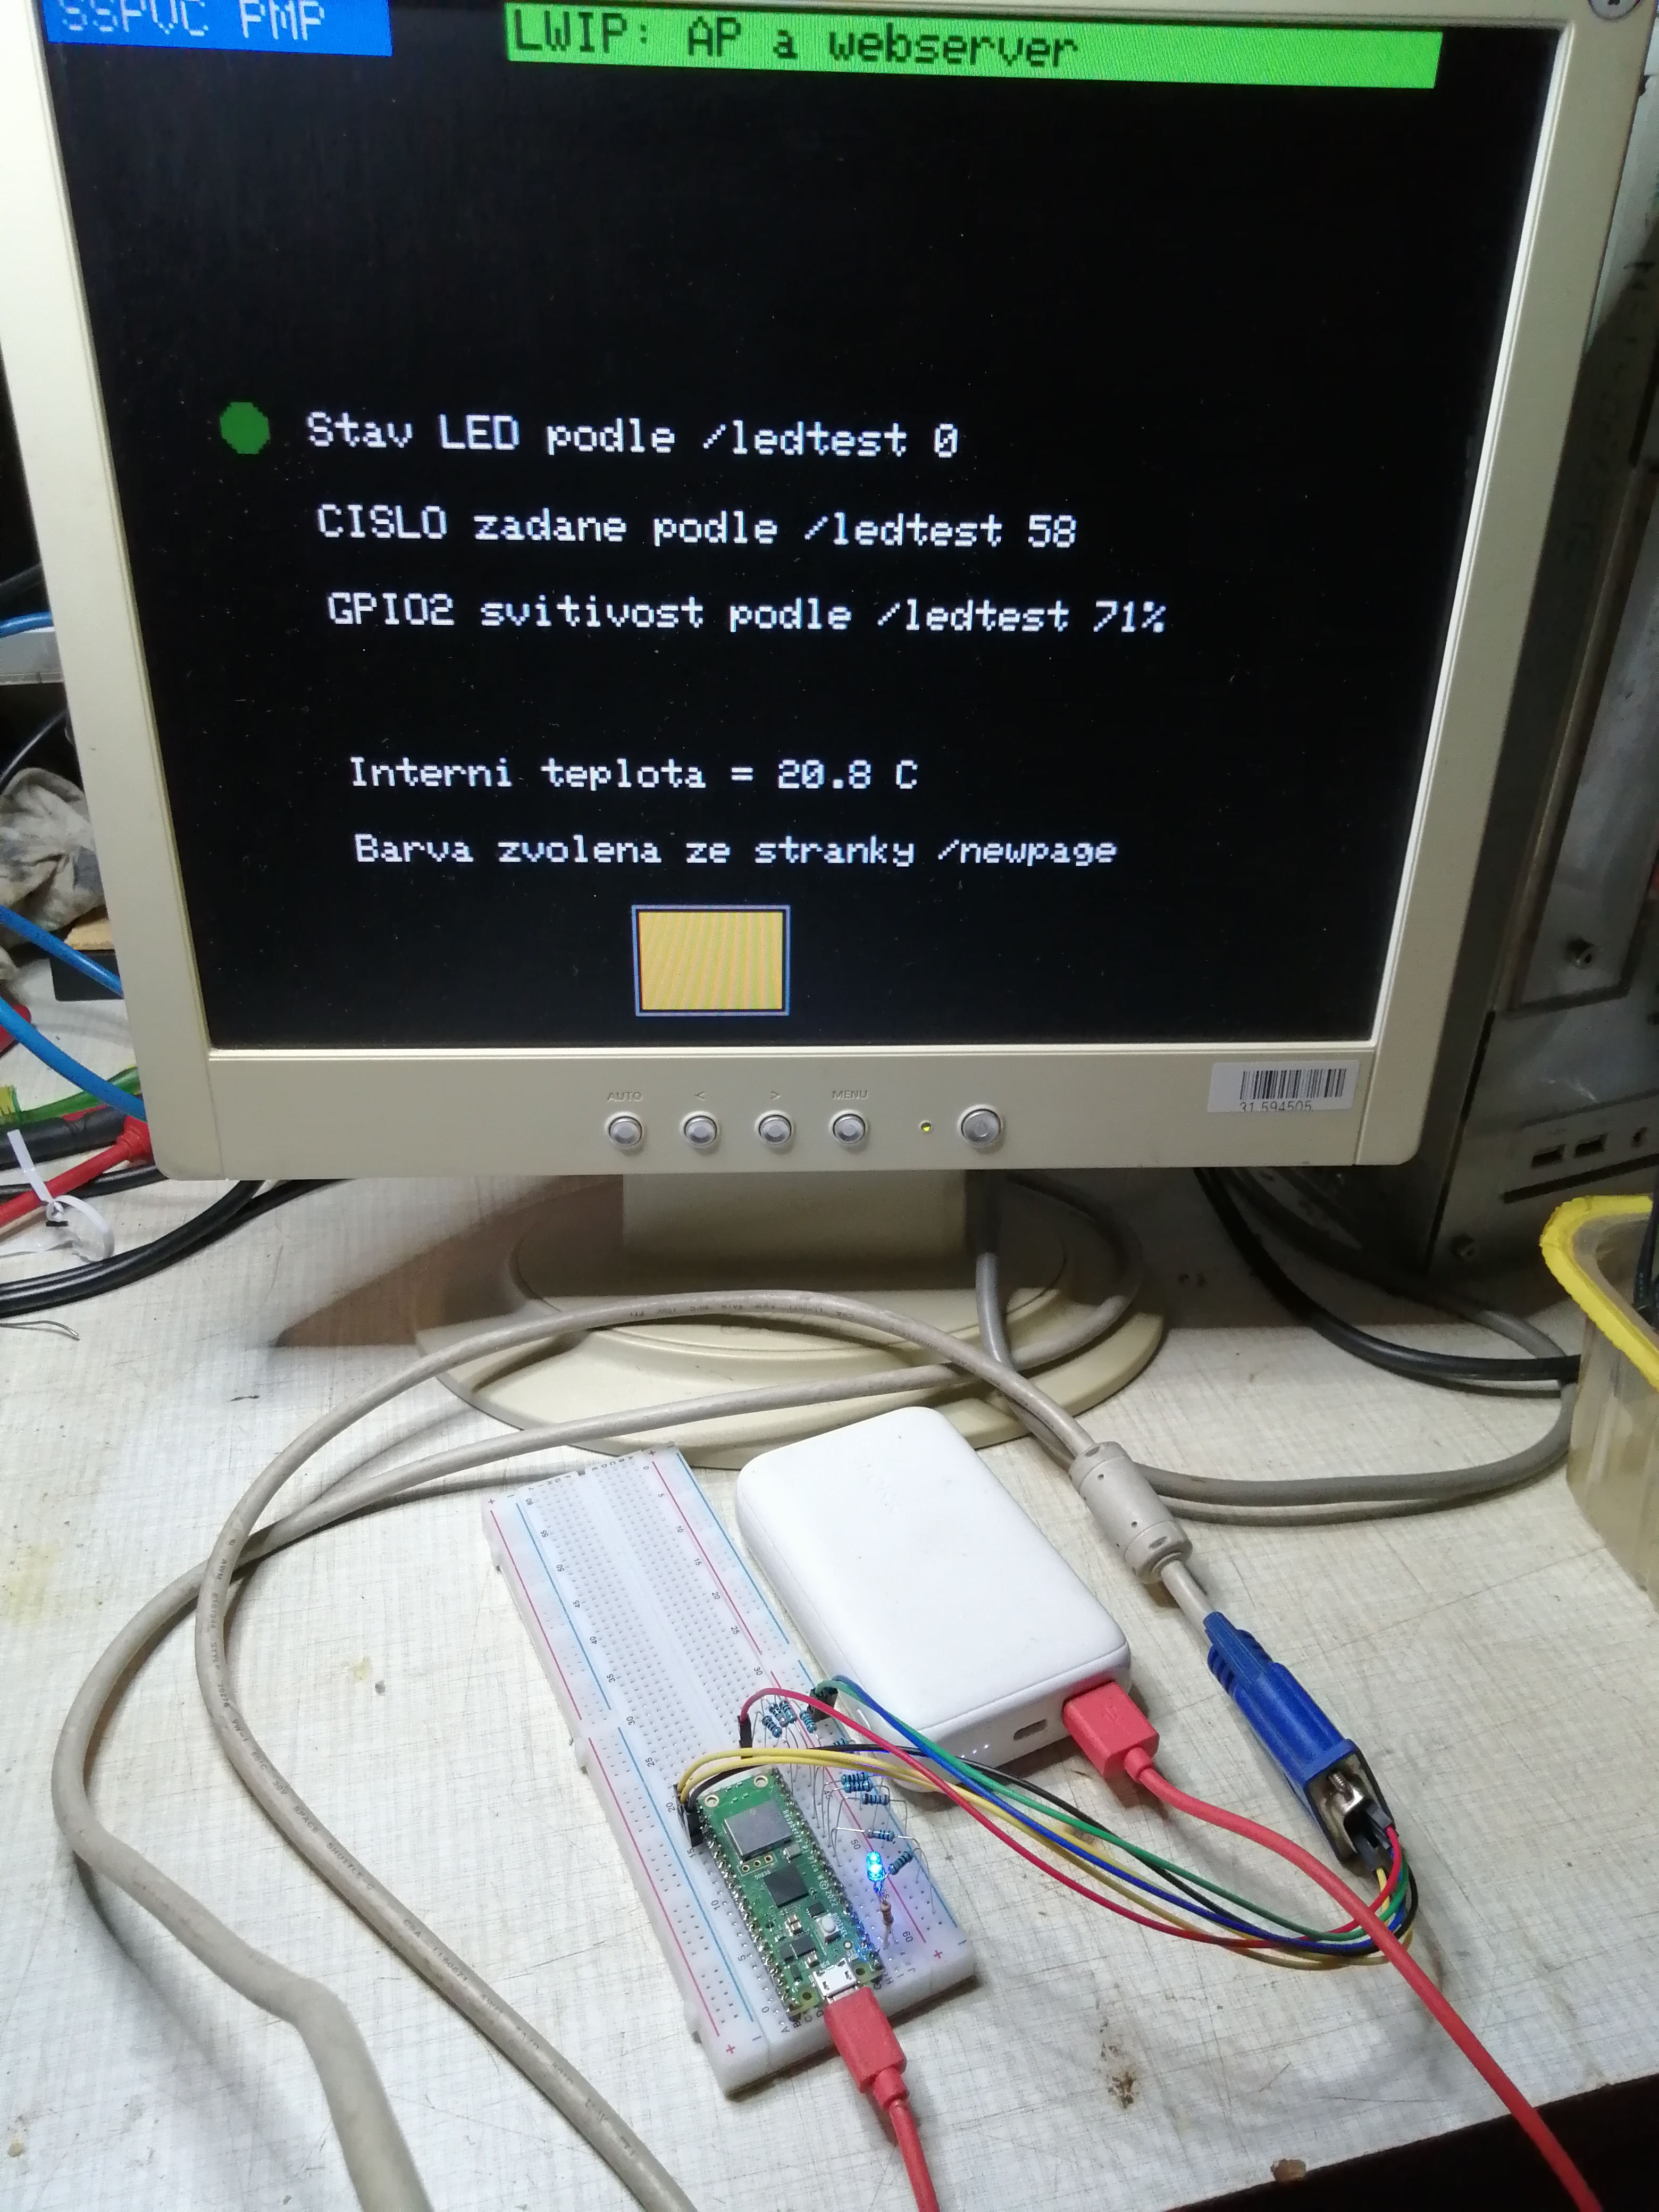
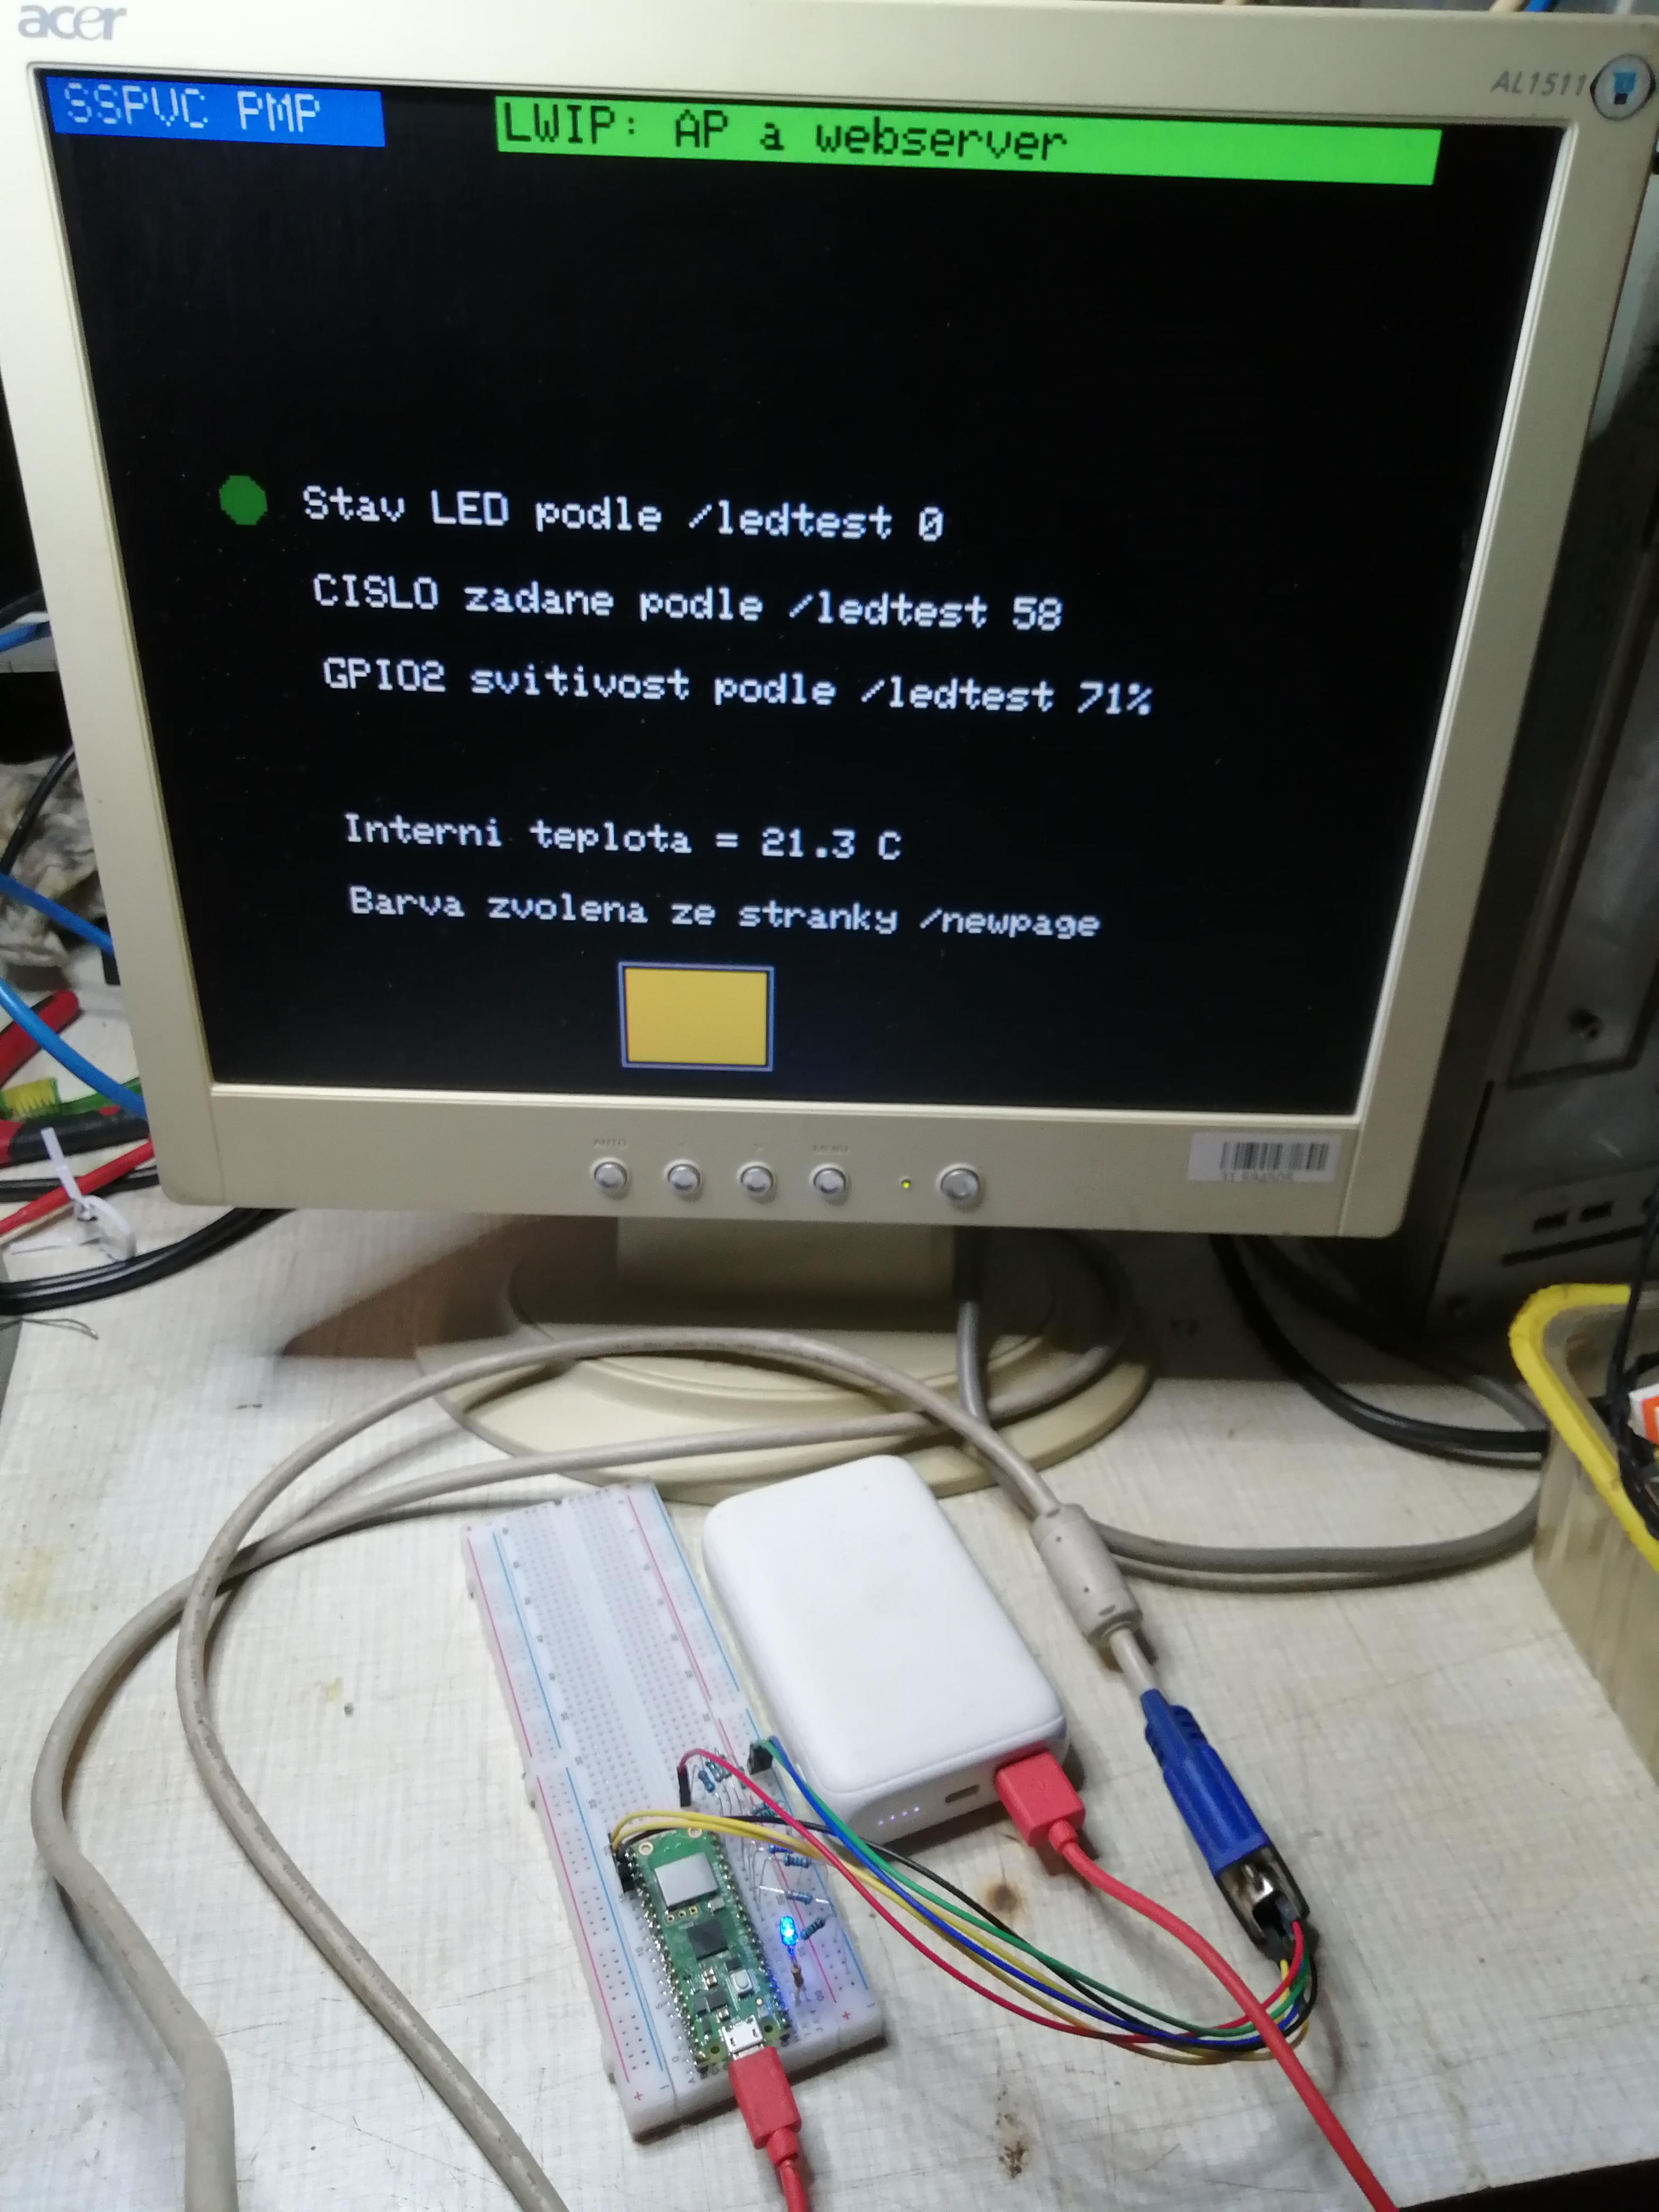
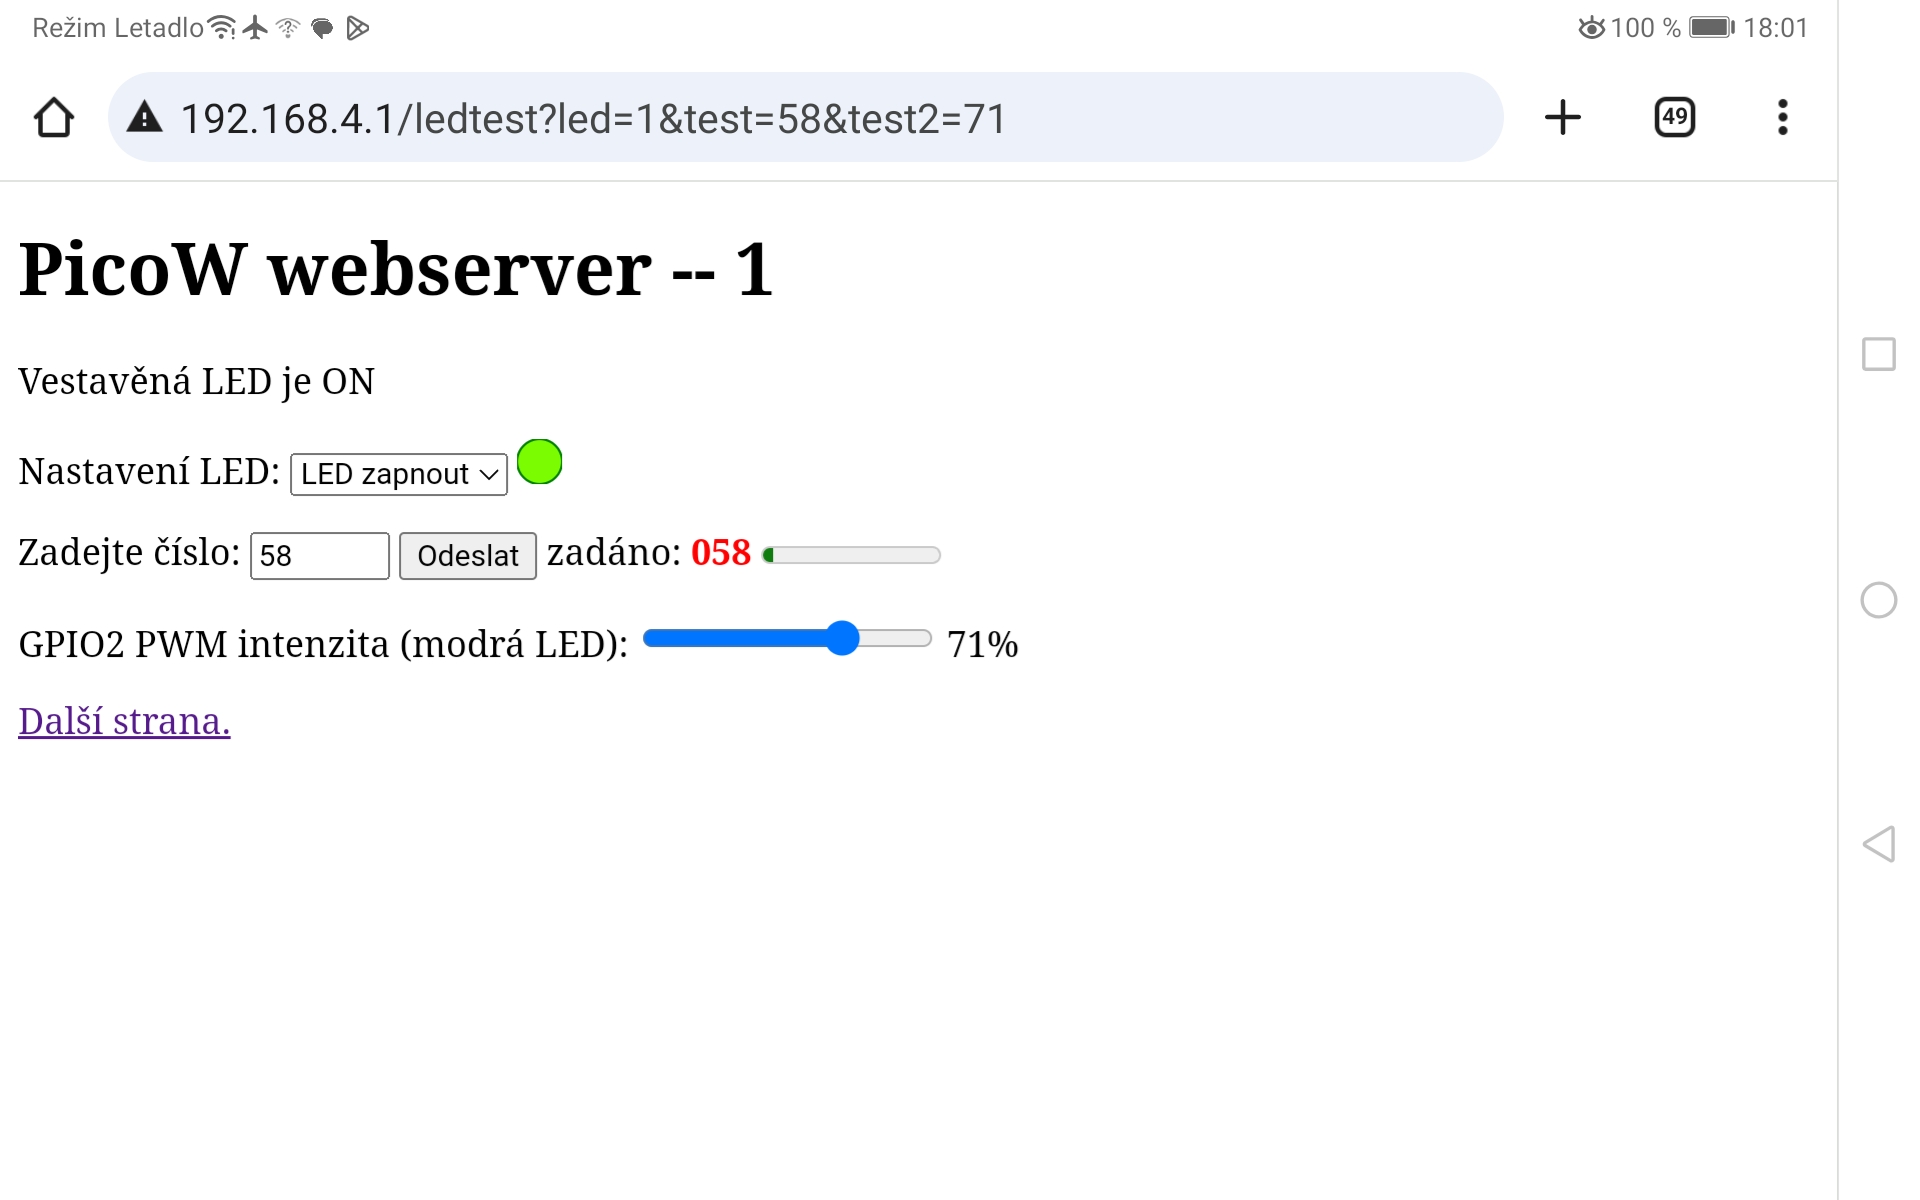
Pico W souží jako AP, na kterém běží DHCP server, DNS server a web server, který slouží jako ovládací panel. Dále je k Picu připojen monitor VGA a hodnoty řídícího panelu jsou na něm též zobrazovány.
Projekt ovládá vestavěnou LED, řídí intenzitu svitu další LED pomocí PWM, měří teplotu pomocí interního čidla a vybírá barvu na obrazovku. VGA monitor umí zobrazovat 256 barev a rozlišení 320x240 bodů (rozlišení a barevná hloubka je omezena malou pamětí RAM). Ovládání je možné z mobilního telefonu tak, že se připojíme na AP SSID picow_test s heslem password. PicoW není připojeno do Internetu, díky omezenému dosahu můžeme použít protokol http. Bezpečnost tedy není nijak řešena.
Projekt demonstruje jednak to, že PicoW není jenom nějaká hračka, ale velmi dobrý kus hardware, na kterém je možné programovat i poměrně složité úlohy, které musí běhat velmi rychle. Ukazuje pokročilé programátorské techniky jazyka C: událostmi řízené programování za pomocí vláken (Protothreads) a použití obou jader procesoru. Dále pak poměrně složitou síťařinu a programovaní v PIO assembleru. V neposlední řadě demonstruje, že rozdílné knihovny (VGA a síť) mohou velmi dobře spolupracovat.
Projekt je připravován na den otevřených dveří školy.
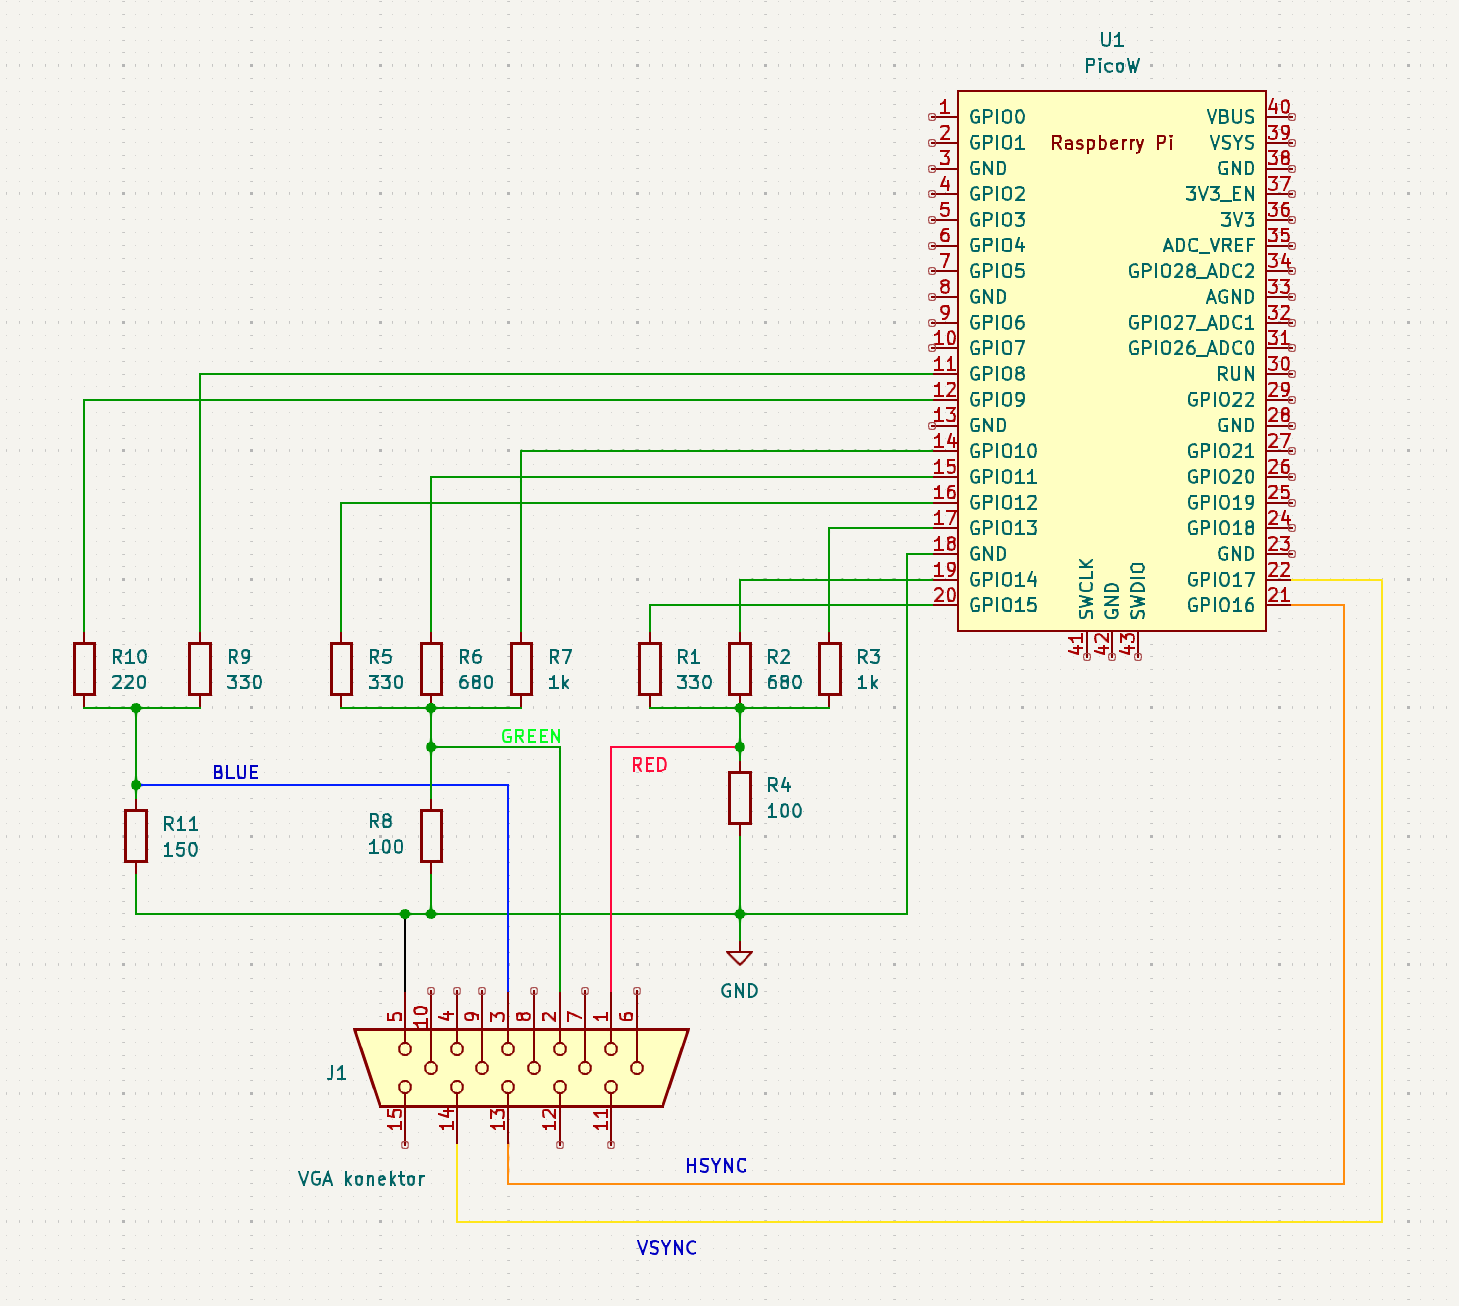
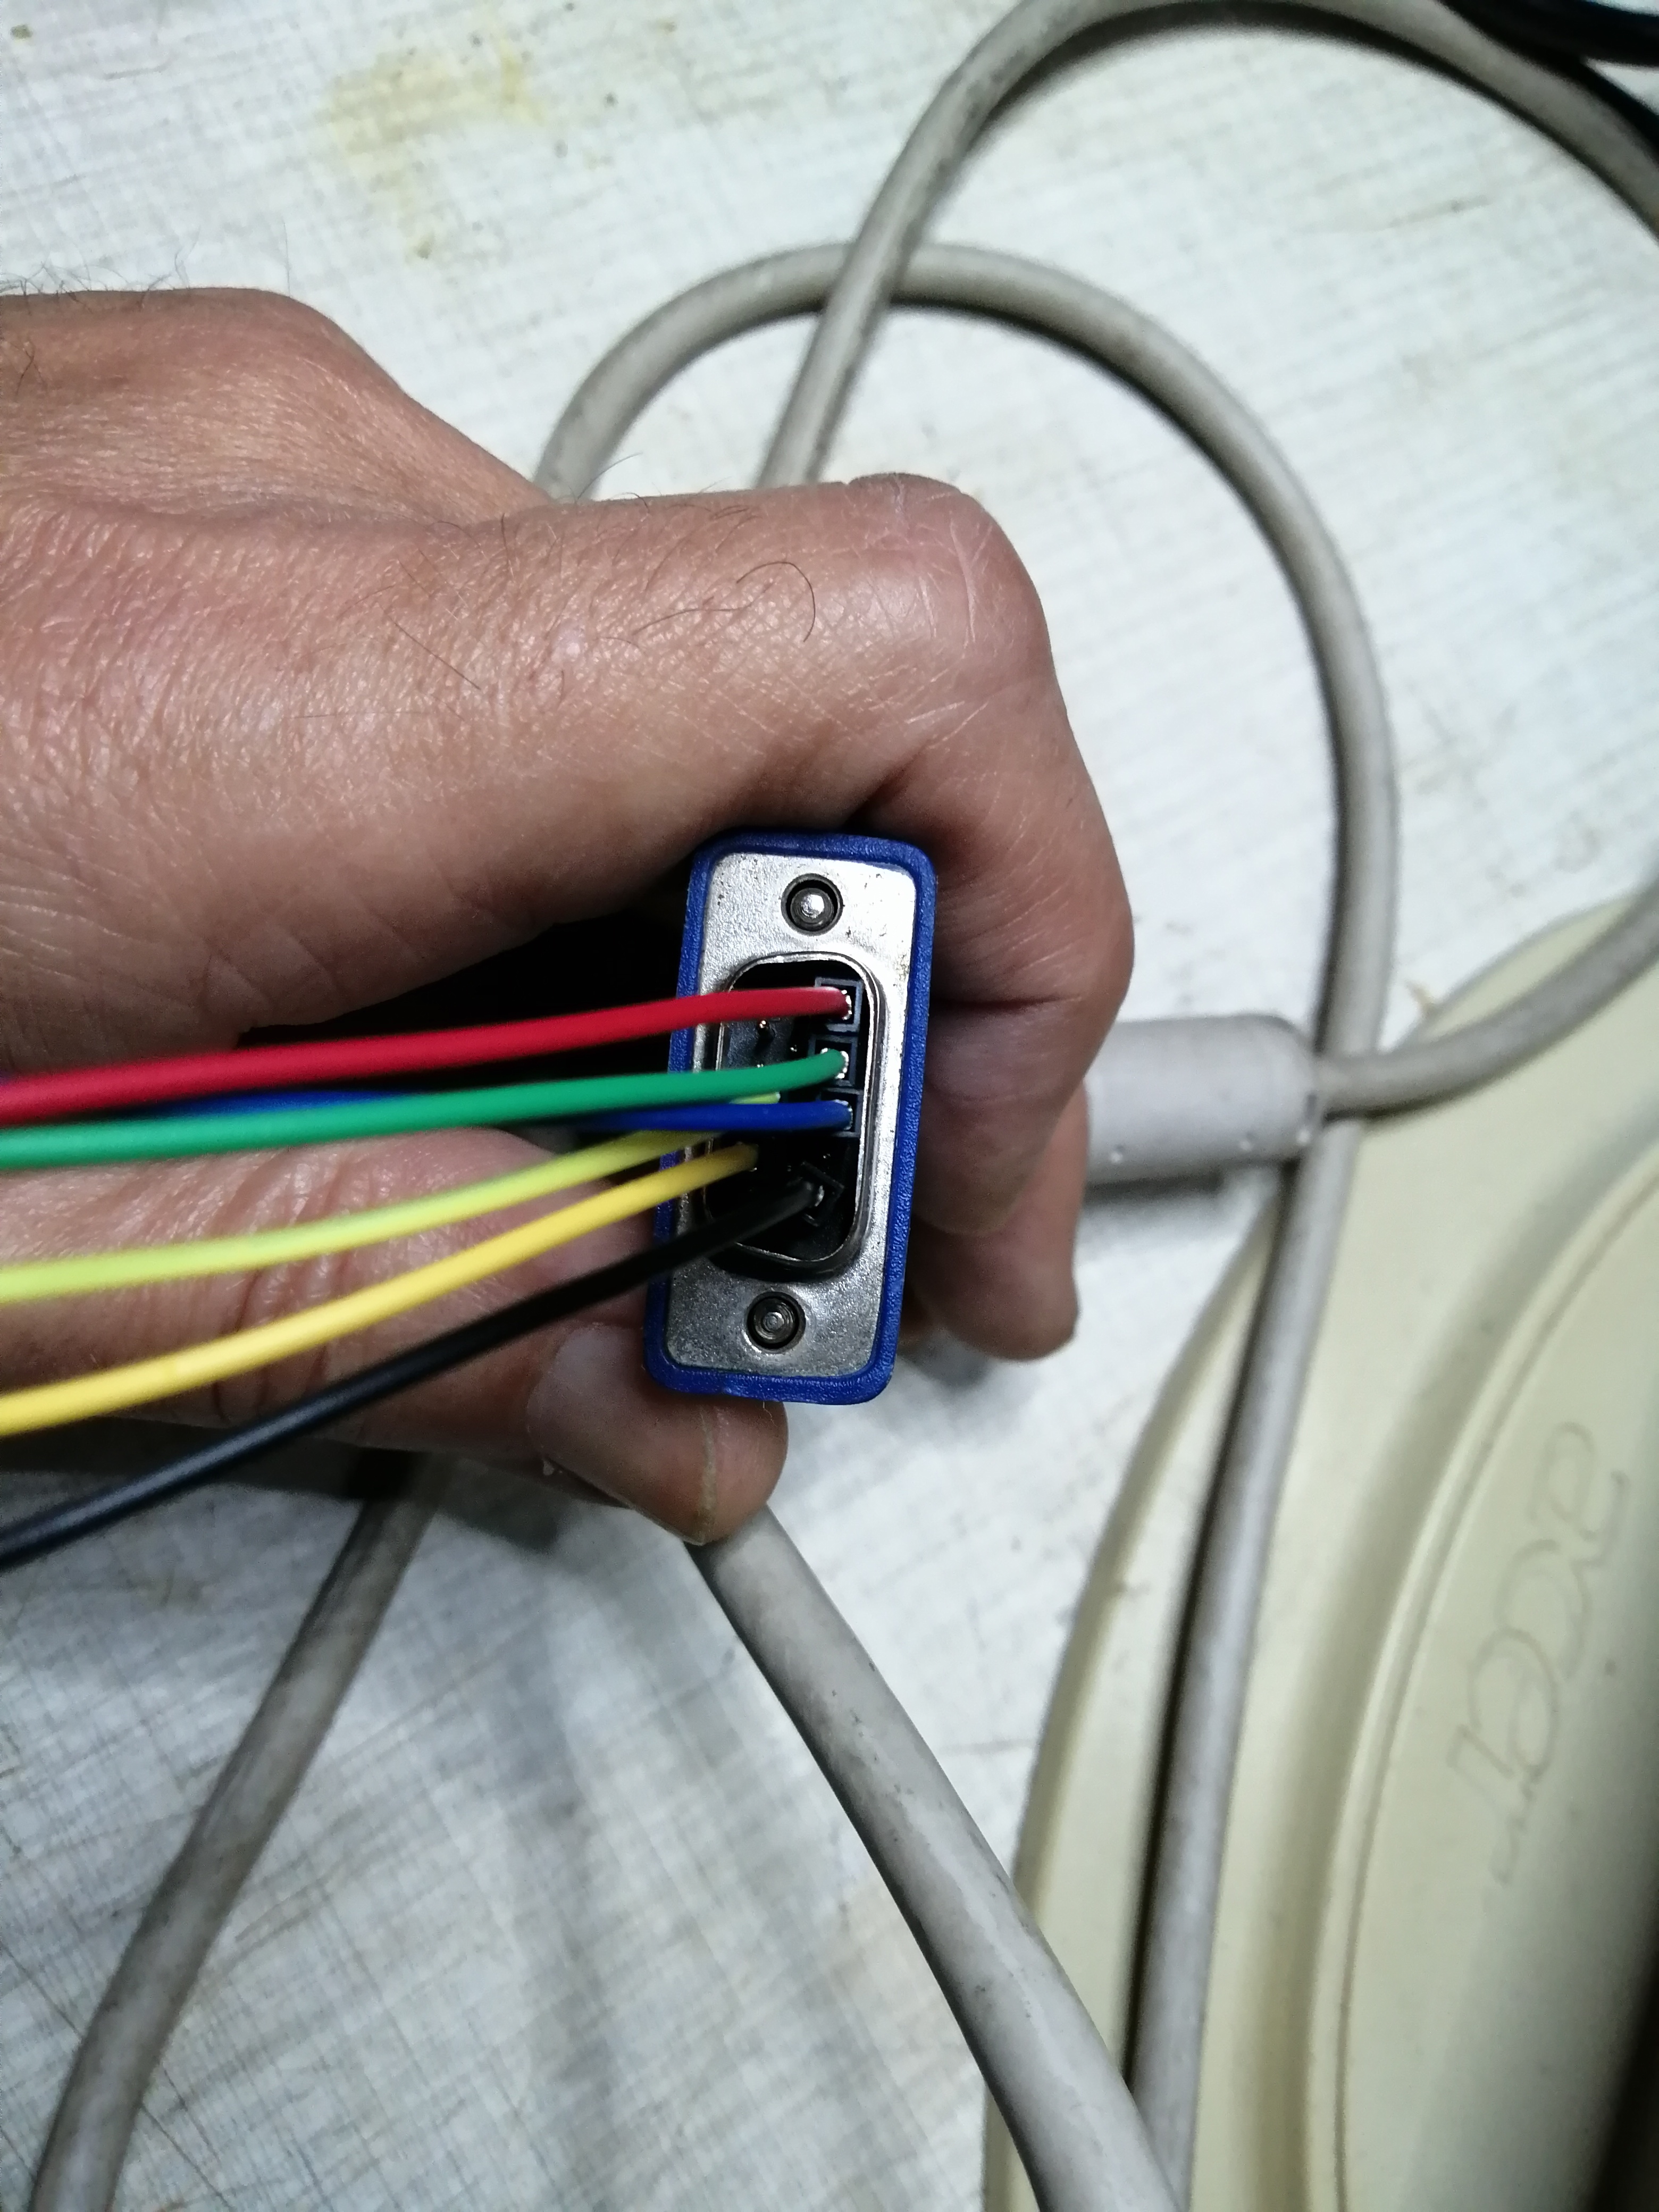
Schéma zapojení
Základní kostra programu
// ========================================
// === core 1 main -- started in main below
// ========================================
void core1_main(){

  //  === add threads  ====================
  // for core 1
  pt_add_thread(protothread_graphics) ;
  //
  // === initalize the scheduler ==========
  pt_schedule_start ;
  // NEVER exits
  // ======================================
}


// ========================================
// === core 0 main
// ========================================
int main(){
    // set the clock -- if you want
    //set_sys_clock_khz(250000, true); // 171us

    //========================================
    // start the serial i/o
    stdio_init_all() ;

    // ======================================
    // Initialize the VGA system
    initVGA() ;

    // =====================================
    // turn on ADC (move to thread)
    // adc_init();
    // adc_set_temp_sensor_enabled(true);
    // adc_select_input(4);

    //========================================
    // network init
    // start the cyw43 in access point mode
    // start the DHCP server
    // start the DNS server
    // start the TCP server
    // =======================================
    TCP_SERVER_T *state = calloc(1, sizeof(TCP_SERVER_T));
    if (!state) {
        DEBUG_printf("failed to allocate state\n");
        return 1;
    }

    if (cyw43_arch_init()) {
        DEBUG_printf("failed to initialise\n");
        return 1;
    }

    // Get notified if the user presses a key
    state->context = cyw43_arch_async_context();
    //>>>> key_pressed_worker.user_data = state;
    //>>>>async_context_add_when_pending_worker(cyw43_arch_async_context(), &key_pressed_worker);
    stdio_set_chars_available_callback(key_pressed_func, state);

    // access point SSID and PASSWORD
    // WPA2 authorization
    const char *ap_name = "picow_test";
    const char *password = "password";

    cyw43_arch_enable_ap_mode(ap_name, password, CYW43_AUTH_WPA2_AES_PSK);

    // 'state' is a pointer to type TCP_SERVER_T
    ip4_addr_t mask;
    IP4_ADDR(ip_2_ip4(&state->gw), 192, 168, 4, 1);
    IP4_ADDR(ip_2_ip4(&mask), 255, 255, 255, 0);

    // Start the dhcp server
    // and set picoW IP address from 'state' structure
    // set 'mask' as defined above
    dhcp_server_t dhcp_server;
    dhcp_server_init(&dhcp_server, &state->gw, &mask);

    // Start the dns server
    // and set picoW IP address from 'state' structure
    dns_server_t dns_server;
    dns_server_init(&dns_server, &state->gw);

    if (!tcp_server_open(state, ap_name)) {
        DEBUG_printf("failed to open server\n");
        return 1;
    }


    // ======================================
    // init thread communication semaphores
    // init pt strucdtures

    //========================================
    // start core 1 threads --

    multicore_reset_core1();
    multicore_launch_core1(&core1_main);

    // === config threads ========================
    // for core 0
    // announce the threader version on system reset
    printf("\n\rStarting Protothreads RP2040 v1.1.2 two-core\n\r");
    // pt_add_thread(protothread_access);
    pt_add_thread(protothread_toggle_gpio2) ;
    pt_add_thread(protothread_serial) ;
    // pt_add_thread(protothread_graphics) ;
    //
    // === initalize the scheduler ===============
    pt_schedule_start ;
    // NEVER exits
    // ===========================================
    // NEVER gets here
    // tcp_server_close(state);
    dns_server_deinit(&dns_server);
    dhcp_server_deinit(&dhcp_server);
    cyw43_arch_deinit();
} // end main
Obrázky

Zdroje a odkazy
Poděkování patří THE SCHOOL OF ELECTRICAL AND COMPUTER ENGINEERING AT CORNELL UNIVERSITY za poskytnutí skvělých materiálů kurzu ECE 4760.